
|
|
| This cabinet was cut almost entirely using a router and a flush-cutter bit with the original panels as a template. Some basic measurements were needed to cut the square panels on my table saw. Odd as this may sound, I did not record the dimensions of this cabinet nor did I draw up any plans for it. If I did, I would be more than happy to supply them for free on this site. | 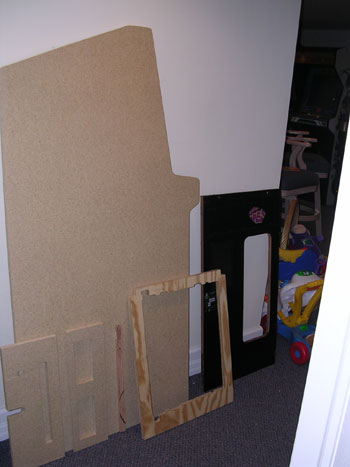 |
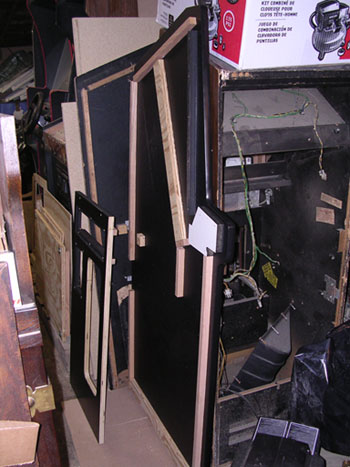
| After remaking the sides, I decided to make the whole thing over, since there wouldn't be that much left original on it, and the wood wasn't 100% in other areas. | |
 |
|
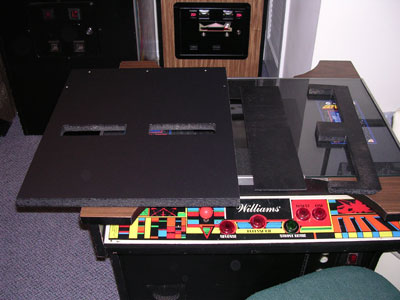
| New top panel and vent assembly. Used black pica vinyl for cover all black panels. Looks fantastic. | |
 |
|
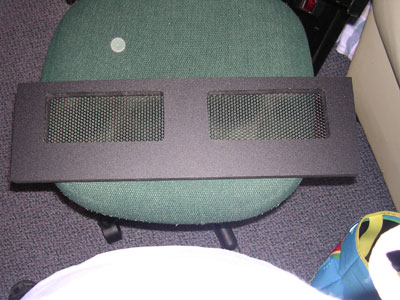
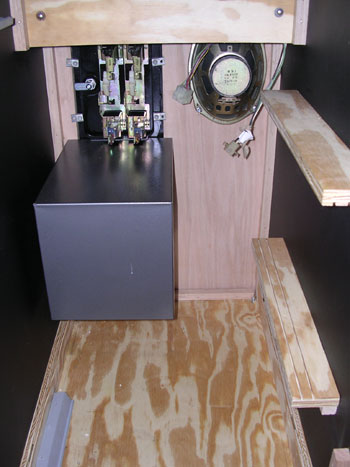
| Top rear vent assembly. Located new perforated sheet metal, since I misplaced the original. | |
 |
|
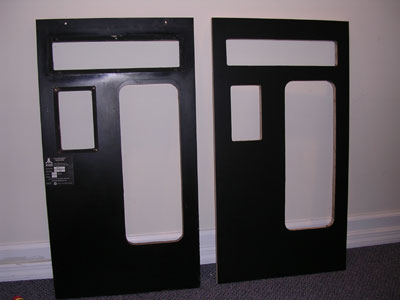
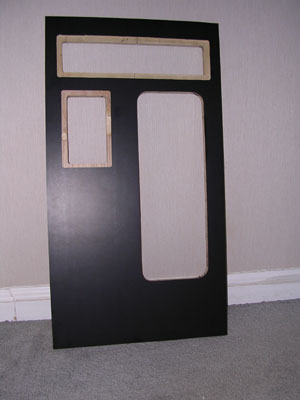
| Cut the new front panel,
the original cleaned up real nice with acetone, but it was still a little
dinged. It would look a little out of place with everything else being new.
Sticker is a little scratched up, and of course the wood wasn't 100% either.
From being wet and dry going from hot and cold over the years, it wasn't
very solid. Used Oak hard plywood and traced the original with a router, just like the sides.. Laminate is 1/32" V formica that looks great. |
|
 |
|
| Routed the channel for the marquee and speaker grille to mount flush. Used a template made specifically for that purpose. | |
 |
|
| Big jump here. Left side blocking completed. | |
 |
|
| Right side blocking and top panels attached. | |
 |
|
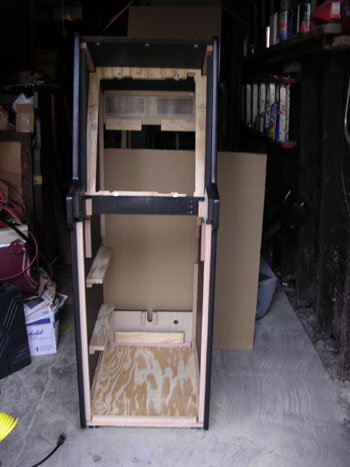
| Everything assembled minus front panel and light fixture mount. | |
 |
|
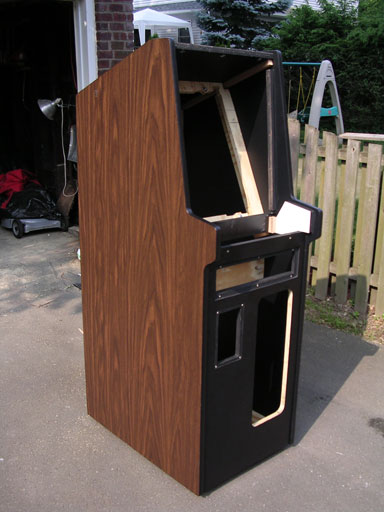
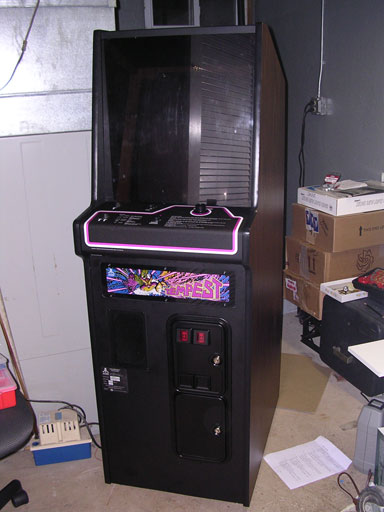
| Cabinet assembled. | |
 |
|
| Rear view. Now time to bring it into my work area for final assembly... | |
 |
|
| Test fit of all hardware. Everything fits perfect. | |
 |
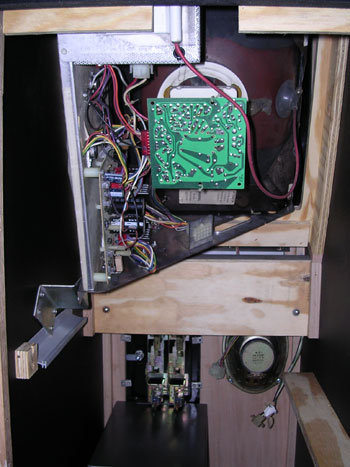 |
| Installation of refinished coin door. Original speaker installed. Coin box repainted with Rustoleum Gray Hammered paint. A near perfect match. | Monitor and bracket installed. Cabinet was wired soon after, but didn't take any pictures... Wanted this machine in the game room as soon as possible. |
 |
|
| After extensive searching
and begging, I was unable to acquire an original cardboard surround. Using
some cardboard, and a picture I found on the internet I made my own from
scratch. It was pretty easy to do, just time consuming. Used my Centipede surround for the curves and measured the distances from the 3/4" blocking. I then cut templates of each side out of cardboard. After creating each of the sides I taped the corners together and traced out the shape on black poster board. Then I cut it out and lightly scored the areas to be folded. Came out pretty good. |
|
|
I've received many requests to reproduce additional copies of this surround. I wish I could oblige and mass-produce them. If I had an original I would likely take it on as it seems there is a market. Unfortunately, each one takes me about a half hour to make by hand and I simply just do not have the time to make additional copies. If I did, I would be hard for me to do new work, as I have very limited free time. |
|
 |
|
| New smoked plexi and powdercoated bezel bar. | |
 |
|
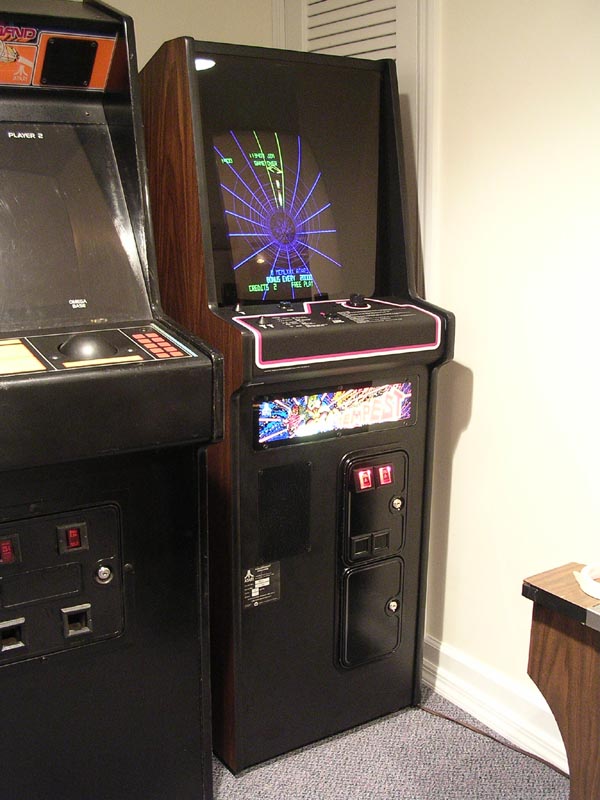
| Restoration complete. | |
| ArcadeRehab.com | EMAIL: info@arcaderehab.com |